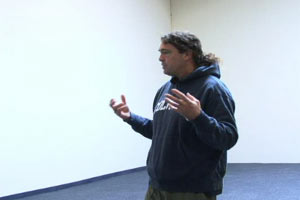
Breaking Down the 'Go Out' Exercise
In nearly all competitive training venues there is a "Go Out" or "Send Away" exercise. I would like to take a moment to share a brief overview of how I prefer to teach this exercise and why.
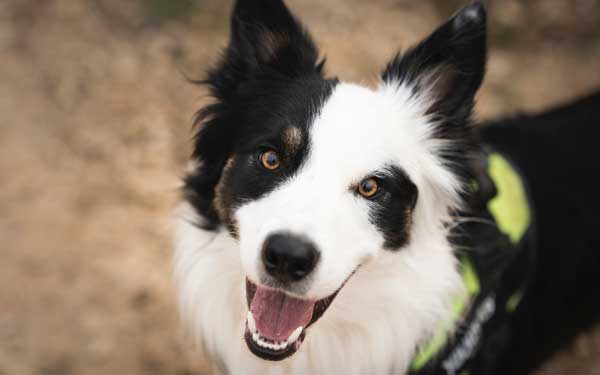
Many years ago, when I was trialing one of my very first IPO dogs, I was inspired to examine the common methodology of training a send out. My dog at the time, a temperamental little Malinois named Filo, often times lacked the desire to run down field to a strategically placed toy reward. After a couple of National Championship trials attended, and point losses accrued, I decided to step outside the traditional Schutzhunder's training toolbox and look to other venues to improve my methodology. I would say a series of blunders forced me to take a cold, hard look at the traditional send out method, and break the exercise down into minute increments.
Many big name trainers simply told me that my precious little SchH3 Malinois at the time (circa 1996) was no good, since any dog not interested in blistering to a toy down field obviously lacked the drive necessary to do the work beyond the familiarity of a club field. Well, retrospect is a lovely thing and I have since been able to examine the many mistakes I made with a dog. Mistakes that created undesirable conflict, lack of clarity, and drive squashing.
There are a plethora of training techniques, tricks, and gimmicks to teach a send out. Some entail simply conditioning a dog to run down field or across the ring motivationally, relying primarily on the dog's natural drives to carry them through trial after trial. Often, this is successful for those seeking club or regional level work, where it is possible to prep on the field in advance. However, what if your dog lacks object desire, or develops a split brain in the presence of a higher stimulus/distraction? I have many times witnessed, and experienced, a dog that simply veers to the incorrect pole in the ring, runs toward the dumbbell rack, or stops early in anticipation of the stop.
I believe that nothing has a more profound impact on the training process as learning through self-discovery, making mistakes, and meeting adversity. This is what lends interest to the training process, allowing us to grow from mimicking trainers into thoughtful, skilled trainers. From the many challenged and difficult dogs I have partnered with over the years, I have blended a variety of methods to develop what I believe is a sound and clear method with a high degree if reliability for the send out exercise.
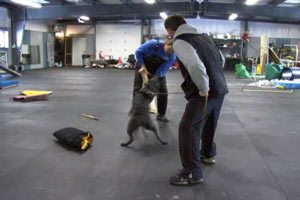
To start, let's examine the send out exercise. The IPO send out, AKC go out, and Ring send out are uniquely challenging with slight variations of a basic concept.
In IPO, the dog must start the send out from a dynamic, focused heeling state (build up), as opposed to a stationary position (which allows for head targeting). It has the greatest distance, and ends with a stationary down position.
In Ring Sports, the dog may mark with their head (target down field) out of a stationary position. Challenges occur with varying order of exercises for less predictability than IPO.
The exercise then ends with a whistle recall which has the dog's brain split, and there may be the distraction of food on the field. In the case of Mondio, there are challenging distractions and accessories as well. In the ring sports and AKC venue. the field is fenced, and target, stanchion, poles, etc. may vary.
I break the exercise down with
- physical touch (nose or paws)
- a mark (head target)
- an end target (placement)
- increasing distance
Once each behavior is taught, we can back chain to work patterns, proof, etc.
Breaking Down the Exercise
- Touch - This exercise is so simple, yet effectively teaches the dog to make physical contact by leaving you and going toward an object and touching it with their nose. It is helpful in tracking at the articles, in retrieve training, the send out, and placement in jumping exercises to name a few. It is generally one of the very first behaviors my puppies learn. If you haven't taught your dog a touch it is quite an easy concept and can be achieved in a short period of repetitions. I start with a hand touch with the nose, then the end of a touch stick, before transitioning to going to a place and asking for a nose touch. Presto! Your dog will have this exercise in as little as 1-2 sessions.
-
Mark - This is a simple exercise whereby the dog positions his/her head and directly focuses on the target such as a pole, place box, stanchion, fence, etc. To create a positive association with the object you have selected as your target, place the reward directly on the target (I prefer high value food in a small Tupperware bowl). By stepping behind my dog's shoulders and restraining on a flat collar momentarily to bring them out of pack and into food (or toy) drive, I can build just enough desire through restraint to trigger the desired response. In all initial teaching I prefer to use high value food rewards such as meaty treats, and when fluency achieved I will transition to toys to increase stimulus. When the dog looks directly at the object within very close proximity I click and allow them to freely access the reward. I use a clicker for food rewards and "yes" for toy rewards since they are two entirely different drive states, and to allow future use of the clicker for sustained behavior. While this is my common language with my dog, you can use any variation you like so as to effectively communicate with your dog, and depending upon how intricately you refine behaviors. When you have the dog clearly offering the behavior, overlay a verbal cue or physical cue such as a hand signal or "mark" based on body positioning, and increase the distance.
Another segment of this exercise is to climb the next rung of the ladder in your dog's understanding of the exercise by cuing the behavior without direct access to the reward. If you have done many repetitions it is time to bump it up a notch, and ask the dog to look directly at the object with no food/Tupperware bowl visible. I then ask for a physical touch of the object I have chosen, and reward from my hand.
-
Place - Utilized in both pet dog training as well as competition obedience, this exercise is essential in all facets of training. In short, teaching your dog to leave you to go away to a designated spot, touch pad, place board, pause table, etc.
Example: I want my dog to go to a designated place board on the ground and touch it with his nose. I first work on the nose touch to a target of the board (see my retrieve article to teach the nose touch). Next, I take my dogs a few feet away and ask the dog to look at the board with a food placed on it. Next I ask my dog to go to look at the board, send from a close distance for a touch, and reward from my hand.
Making this transition to the food in your pocket or pouch, and asking the dog to go a very short distance away is a critical step in creating a remote reward system, and ultimately in the proofing stage where your dog may have run past many tempting distractions, so don't be so rushed to get through this phase (where many handlers give up). It may be helpful to have a Treat n' Train, or an assistant to help transition away from the direct reward. As your dog becomes fluent, you can create interesting challenges within very close proximity such as having your dog go past it's reward placed on the ground (initially to the side and eventually in the dog's path) before the behavior can be marked and rewarded. Since this is the teaching stage of a teeny tiny part of the behavior chain, take your time to not only perfect it, but proof by creating approaching from a variety of angles and positions (such as asking for the mark out of sit, down and stand), and with you on both sides and behind your dog. Ask someone to create minor distractions for you such as clapping their hands lightly, marching in place, kneeling, or doing jumping jacks. The variations and distractions can all be done while you are still working your dog in close proximity to the target (preferably placing and proofing your dog no more 3-5' away from the target initially).
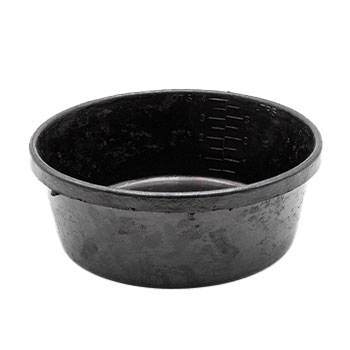
Determine what stationary behavior you prefer as the object, whether it is standing, standing with front paws on a fence, sitting, or a down, and be sure you are providing aside appropriate object. For example, if your place target is a metal bowl or rubber container turned upside down, and you are going to ask your dog to down for the final behavior, it is an inappropriately sized placement target for your dog's down (unless you're working a Chihuahua or Papillon). I like to teach the initial foot touch concept and go to place with a horse feed pan turned upside down with young dogs for jumps, etc., as they are super portable. However, when transitioning to a formal send out I change the target to a low wooden place box large enough for my dog to down on, and later a folded towel (for portability in my training bag for travel). For a sit, perhaps a small training box (just a few inches high), and for a stand either a place board or small target like a mini cone or bobble target.
-
Increase Distance - Lastly, when you have chained the mark, place and touch/positions together and your dog is doing a mini send away, simply increase the distance.


Most Popular Articles
-
01
-
02
-
03
-
04
-
05
Related Products
-
 $20.00 - $23.00
 -
 $80.00
 -
.jpg) $52.00 - $70.00
$52.00 - $70.00
Ask Leerburg.